Modelling a workflow
To design a workflow, launch the "Workflows" function in Retorik Studio.
A workflow is created graphically by adding "Events" and "Tasks", represented by rectangles, which must be ordered and linked together using connections that differ depending on the type of event/task added.
Additional elements are required depending on the event or task added. For example: role performing the action, role receiving the email, name of the email template, etc.
Basic concepts
Before starting to model a workflow, it is essential to understand the basic concepts below and to determine what the workflow trigger will be.
Workflow/Instance
The process being modelled is called a workflow. Each time a workflow is executed, an instance is generated. Multiple instances can be active simultaneously and be at different stages of the workflow model.
Event
An event is a change that occurs at the FAQ level following a user action and that triggers the workflow or its progression. Examples:
- An FAQ is created: this event automatically triggers the sending of an email,
- Approval or rejection of an FAQ: this event triggers the progression of the workflow when an approver performs one or the other of the expected actions. The workflow pauses until this action is completed.
Task
A task is an automatic action executed by the system when an event occurs or following another task. Examples: Sending an email when an FAQ is created, or Forcing a particular status for the processed FAQ.
Illustration of these concepts in the example below:
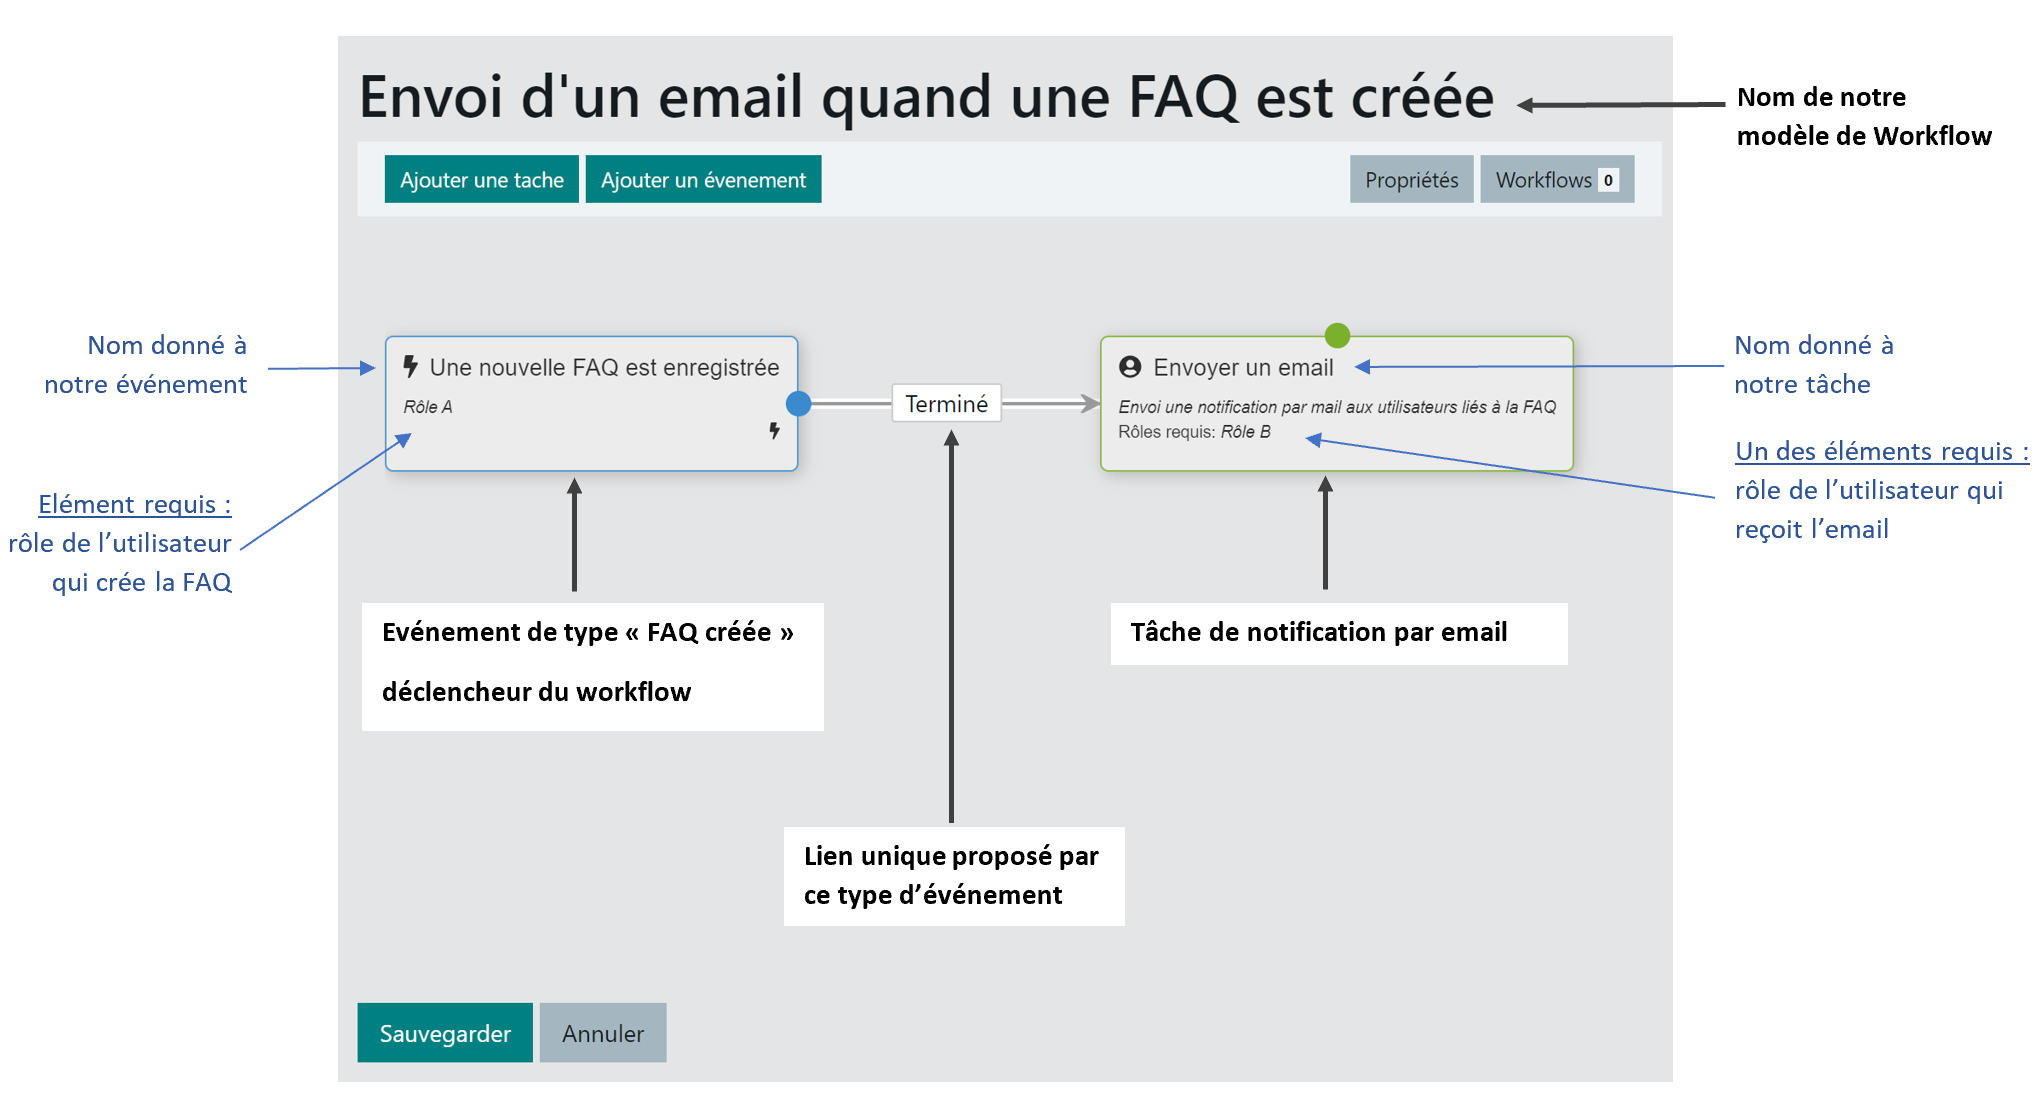
Workflow example
The process below will be used as an example throughout this section to detail the design of a workflow:
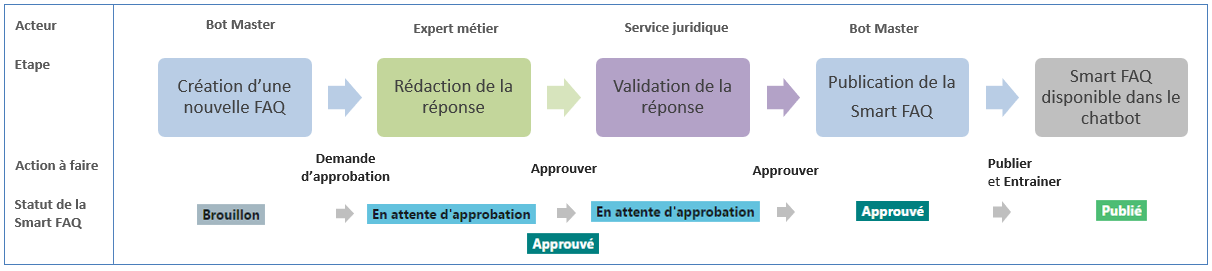
This is a Smart FAQ creation process requiring the involvement of 2 actors before its final publication and distribution to the public:
-
After analysing questions the bot could not answer, the botmaster creates a new FAQ specifying the question and optionally a theme (= Category area),
-
They then send the FAQ to a Subject Matter Expert who writes the answer, supplementing it with a URL link or linked file if needed,
-
When the Expert validates, the FAQ is sent to the Legal department for approval,
-
Once approved, the FAQ can then be published by the botmaster to be made available to the public.
Remarks:
-
Routing to the Subject Matter Expert can be based on the FAQ category. In this case, a workflow per category will need to be designed.
-
An email notification can be set up at each stage of the workflow.
-
Not all stages of this diagram necessarily need to be included in the workflow model:
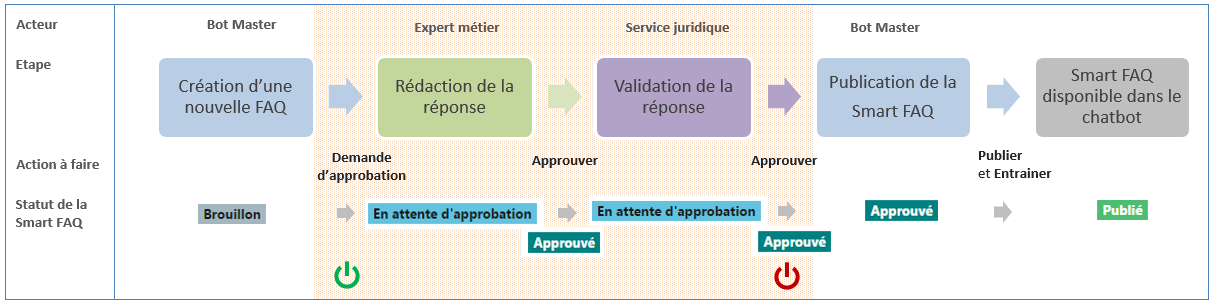
 The workflow is triggered not when the FAQ is saved in the database (status "Draft") but when the botmaster decides to send the FAQ to the subject matter expert and it changes to "Awaiting approval" status.
 The workflow stops when the 2nd level approves the FAQ and it changes to "Approved" status.
The botmaster can then filter Smart FAQs by "Approved" status, publish them in batches or intervene on one or more FAQs to add rephrased questions or tags as needed. This is why the FAQ is not automatically moved to "Published" status after the 2nd level. The botmaster retains control over publication and bot training (an action that cannot be integrated into the workflow).
The events and tasks to be modelled in our workflow are delimited by the orange area below:
Modifying an FAQ setting
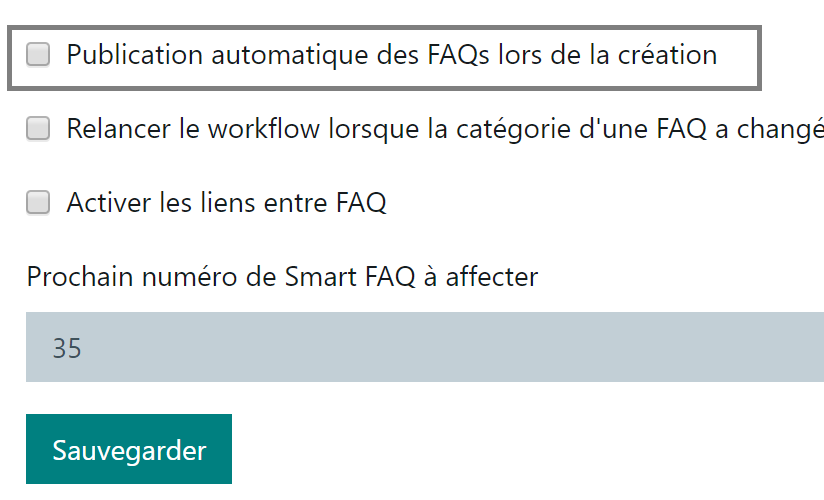
Upon installation, Retorik Studio is set up in "Automatic FAQ publication upon creation" mode. Each new FAQ created is saved with "Published" status and available to the public after training.
When you wish to implement a Smart FAQ validation workflow, you must untick this mode so that any new Smart FAQ is saved with "Draft" status.
To untick this mode, go to the "Configuration > Settings > Smart FAQ" function:
- Click the checkbox below to untick it:
- Save the settings.
Defining actors
Each actor in the validation process must be identified by a unique role in the "Security > Roles" function.
Authorisations required per role for the correct operation of our workflow:
| Smart FAQ authorisations | "Botmaster" role | "Expert" role | "Legal" role | Comments |
|---|---|---|---|---|
| Display Smart FAQs | Yes | Yes | Yes | |
| Edit Smart FAQs | Yes | Yes | Yes | |
| Create Smart FAQs | Yes | |||
| Delete Smart FAQs | Yes | |||
| Make an approval request (1) | Yes | Makes the "Send for approval" button available | ||
| Approve a Smart FAQ (2) | Yes | Yes | Makes the "Approve" and "Reject" buttons available | |
| Publish Smart FAQs | Yes | |||
| Train Smart FAQs | Yes |
(1) The botmaster sees all FAQs by default
(2) The Subject Matter Expert and Legal only see the FAQs assigned to them. After approval or rejection, the processed Smart FAQ disappears from the display.
Modelling the example workflow
Creating a new workflow
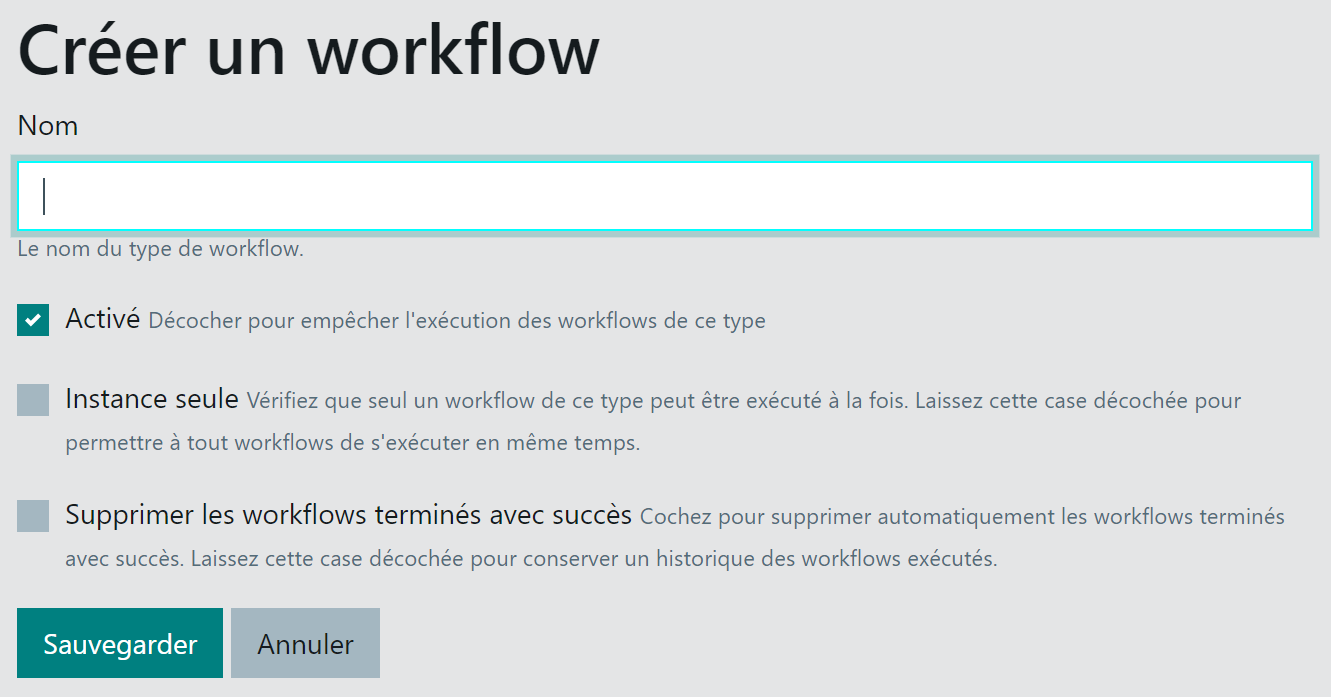
- Launch the "Workflows" function and click the "Create a new workflow" button at the top right
-
Enter the Name of your workflow model. Example: Smart FAQ validation workflow.
-
Save
-
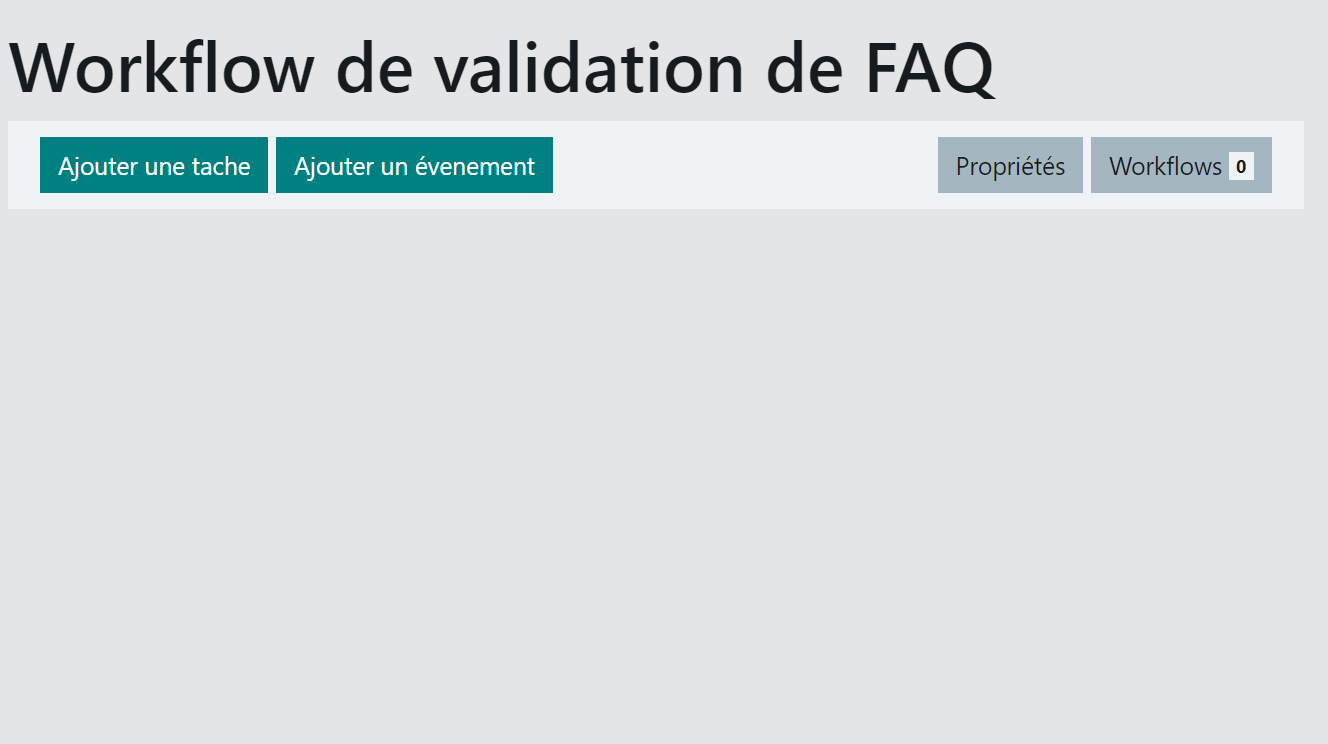
The workflow is created and you enter the modelling area
Adding the trigger event
The trigger event of our workflow is the transition from "Draft" status to "Awaiting approval" caused by the botmaster's "Send for approval" action.
To insert this event:
- Click the "Add an event" button
- Search for the "FAQ status changed" event then click the "Add" button
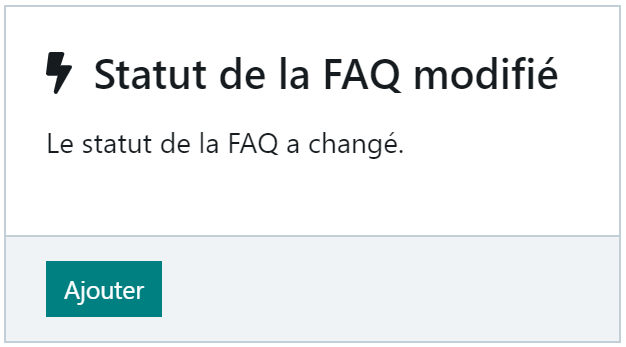
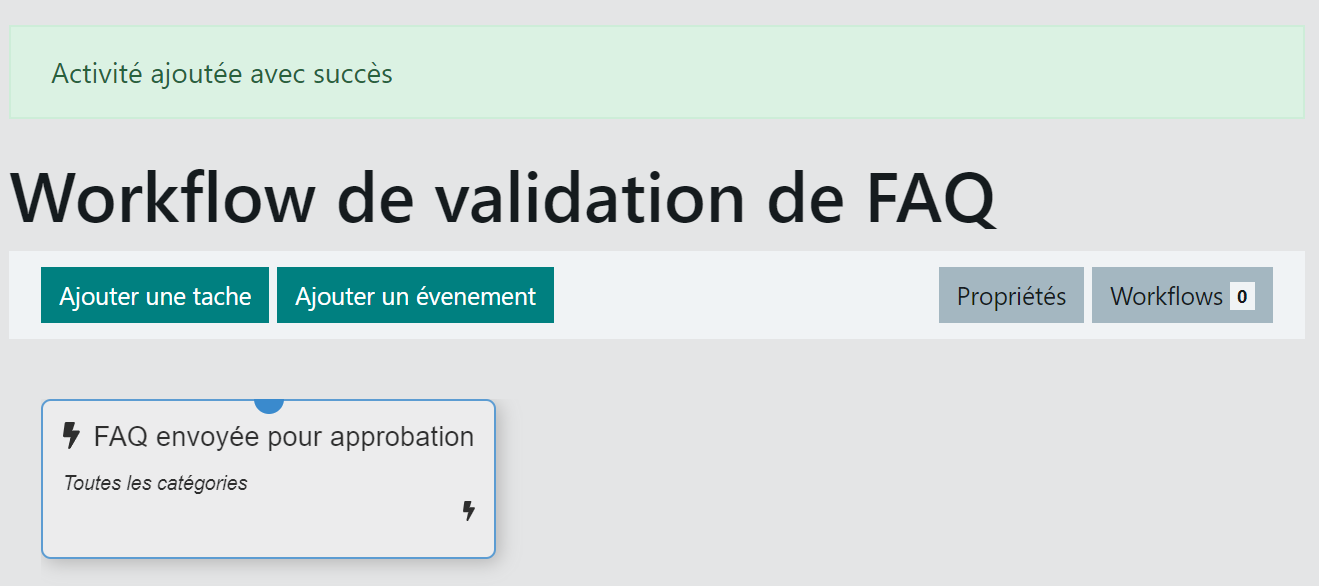
- Name the event in the "Title" area. Example: FAQ sent for approval
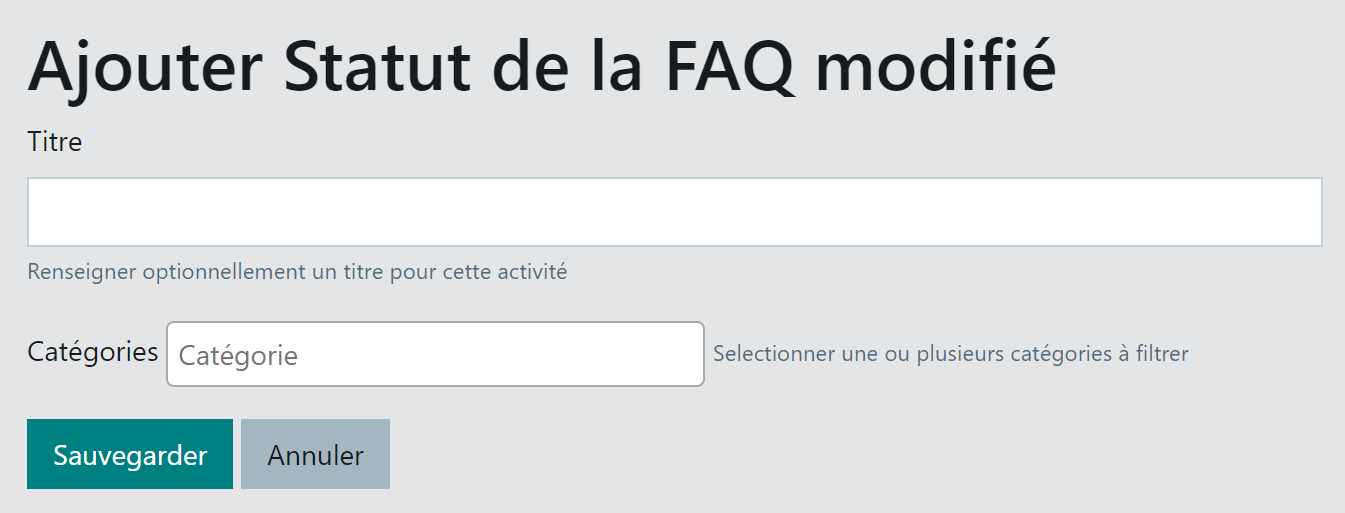
- If routing to the Subject Matter Expert is based on category, select it from the "Categories" list
- In our example, the workflow is triggered regardless of the FAQ category. We leave the category blank.
- Save
- The "FAQ sent for approval" event appears in the modelling area as a rectangle
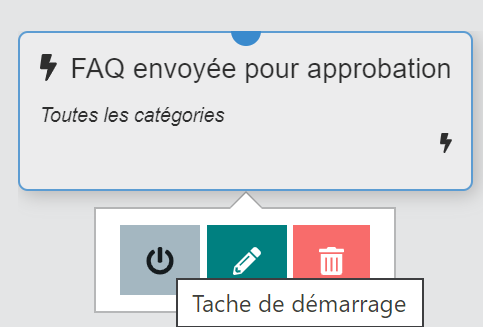
- Right-click the event then click the first pictogram to define this event as the Start Task
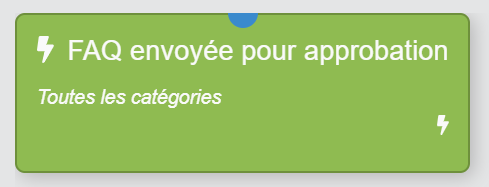
The trigger event turns green
Managing the Expert's pending action
Once the workflow trigger event has been inserted, the next steps must be defined. The FAQ is at "Awaiting approval" status. The workflow will therefore be advanced by the Subject Matter Expert who will approve or reject this FAQ.
The next step is also an event but of a different type from the trigger event.
To insert this event:
- Click the "Add an event" button
- Search for the "Action on FAQ" event then click the "Add" button
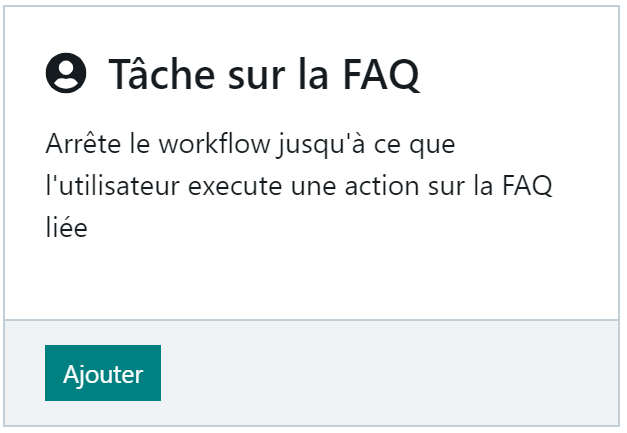
- Enter the event title and the role that must perform the action Screenshots to be added
- Save
- The rectangle representing the 2nd event overlaps the first.
Click on it then hold the mouse to drag it to the right.
- Link the 2 events. A "Completed" link is created.
Managing approval
The "Action on FAQ" event proposes 2 links:
- An "Approve" link
- A "Reject" link
This section is currently being finalised.
Managing rejection
This section is currently being finalised.
Launching a workflow
Send for approval
This section is currently being finalised.
Managing instances
This section is currently being finalised.